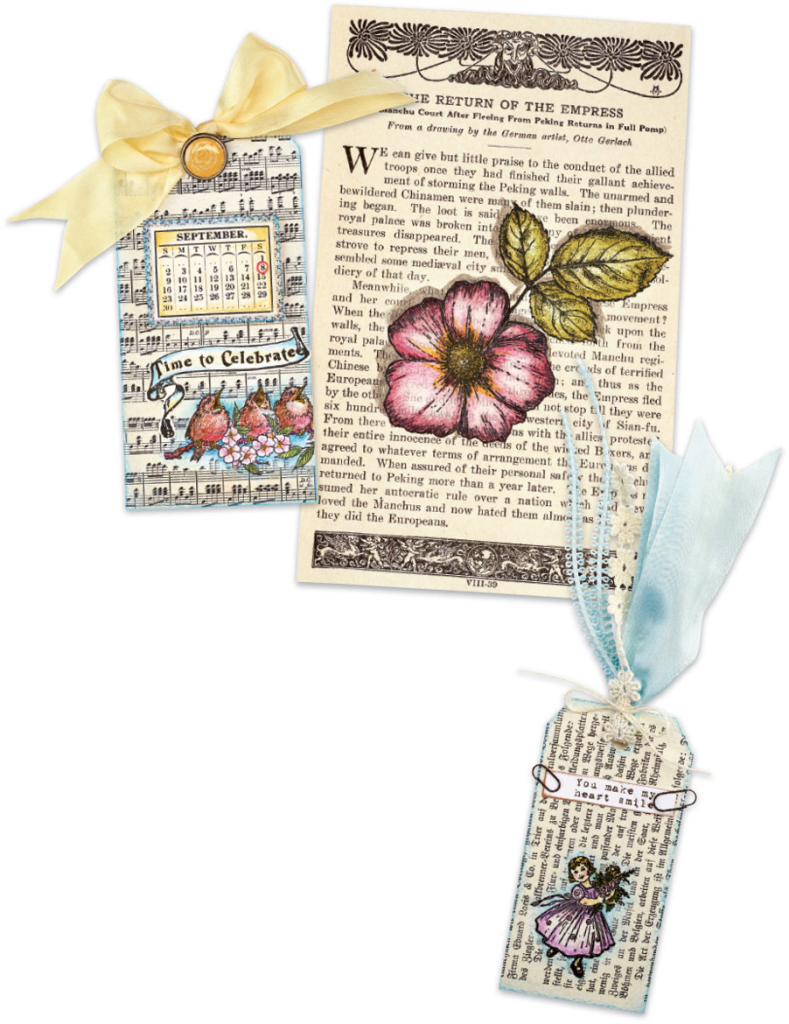
I like to use book pages and collect ephemera with the subtractive stamping technique. Most ephemera are too fragile (and too valuable) for the technique, so you will need to transfer the image onto heavier paper. To do this, scan the ephemera and print them out onto smooth watercolor paper with your inkjet printer. You will need to cut the paper to fit into your printer tray. I usually cut a letter size, 8 ” x 11″ (or A4), sheet for printing. You can also use a color copier. If you can’t convince the copy machine operator to use your trimmed watercolor paper, you can print on a heavier 80 lb. white cardstock.
Materials
- Colored pencils
- Black inkpad
- Sand eraser
- Clear stamp (rubber stamps can also be used)
- Smooth watercolor paper (90 lb. watercolor paper works best, but you can also use drawing paper)
- Gray inkpad
- Ephemera
*Ephemera are items designed to be useful or important for only a short time, like pamphlets, notices, tickets, etc. My favorites include book pages, old script journal pages from older family members, and sheet music.

- With a gray inkpad, stamp your image. This image will be very light; you only just need to see the basic image. This gray stamping will disappear in the final image; you are just using it as a general guide for the next step.

2. Using a sand eraser, remove the top layer of printed paper where your image is stamped to reveal the white paper underneath. This doesn’t have to be perfect and white to every edge of the image—you just need the general area sanded white. Restamp your image in black ink. Using clear stamps makes it easy to see the gray stamping and line it up perfectly. Do not worry if you are a little off; the light gray stamping tends to disappear as you add the coloring.

3. Color the image using colored pencils and the general shading and blending techniques. Add a gray shadow around the stamped image using a very light gray pen- cil. This helps to illuminate any of the gray stamping and helps to frame the image. You can also use scumbling or crosshatching strokes to add the halo.

Tips to Remember
- Don’t worry about erasing the images to the very edges; you don’t want lots of white around the image.
- Faces are important to erase cleanly to prevent any of the background prints from showing through.
- Clear stamps work best, as you can see to re-stamp over the gray stamping with the black ink.
- For any areas you want highlighting, leave the white uncolored.
- A halo around the image helps it stand out from the background pattern.
- Start to collect interesting ephemera for use as beautiful backgrounds with this technique.
